

How to Make Black and White Into Color in Photoshop
Ever wanted to colorize black and white photos you love? While old, vintage black and white images are great, sometimes images in full color are more suitable and interesting.
So, without further ado, let's take a look at:
- how to colorize black and white photos in Photoshop;
- use various tools to colorize photos;
- add color to your black and white pictures;
- and much more.
Table of contents
- How long does it take to colorize a black and white photo?
- Open your image in Photoshop
- Using the 'Quick Selection' tool, select the background
- Create a new solid color layer from the selection
- Change the blend mode from 'normal' to 'overlay'
- Correct edges where color has bled onto the subject
- Add some color to her face
- Make her lips red
- How to colorize black and white photos without Photoshop
- Using Photoshop to add colors to your images – Final thoughts
How long does it take to colorize a black and white photo?
Estimated time: 30 minutes
It will generally take you around 30 minutes to colorize (add color to) a black and white photo, but as you get used to the process described in this tutorial, you shouldn't need more than 10-15 minutes.
While there is a range of methods that can be used to do this, we're going to show you how to use solid color fill layers with layer masks and different blend modes.
This is our preferred method, as it means that none of the adjustments you make are destructible, and you can always come back and make changes to the image and its colors later. As you can see, we used a portrait picture for our example.
Open your image in Photoshop
Choose a black and white photo that you've always wanted to have or see in color (or use the one we used by downloading it above), and open the image with Photoshop so you can jump right in and colorize a black and white photo.
If you don't already own Photoshop, you can get it from here.
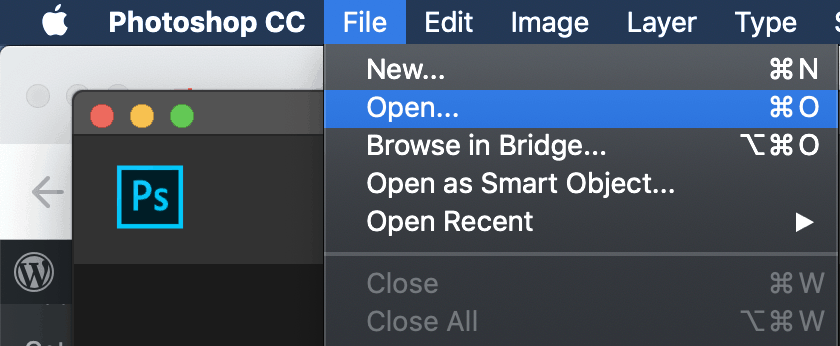
Using the 'Quick Selection' tool, select the background
In the case of the image we're using, it's fairly straightforward to use the 'Quick Selection' tool to separate the background (or sky) from the subject of the image. If there is no distinct subject in the image, use the 'Quick Selection' tool to select a large area of your image that will have the same color, such as grass or the sky.
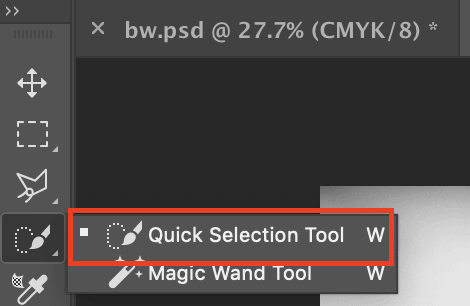
To use the 'Quick Selection' tool, either simply click the 'W' key on your keyboard or navigate to the Photoshop menu to select the 'Quick Selection Tool'. This might take a few minutes, and you may need to use the Alt key (Windows) or Option key (Mac) to de-select certain areas if the tool accidentally selected areas you didn't intend to select.
Learn more about the Photoshop quick selection tool, here.
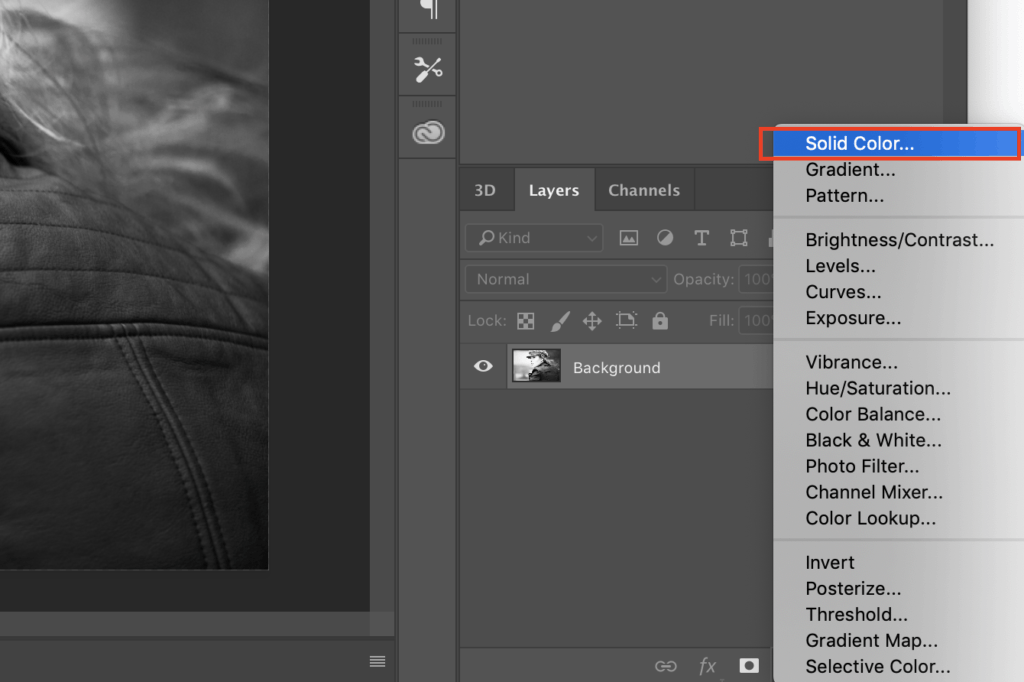
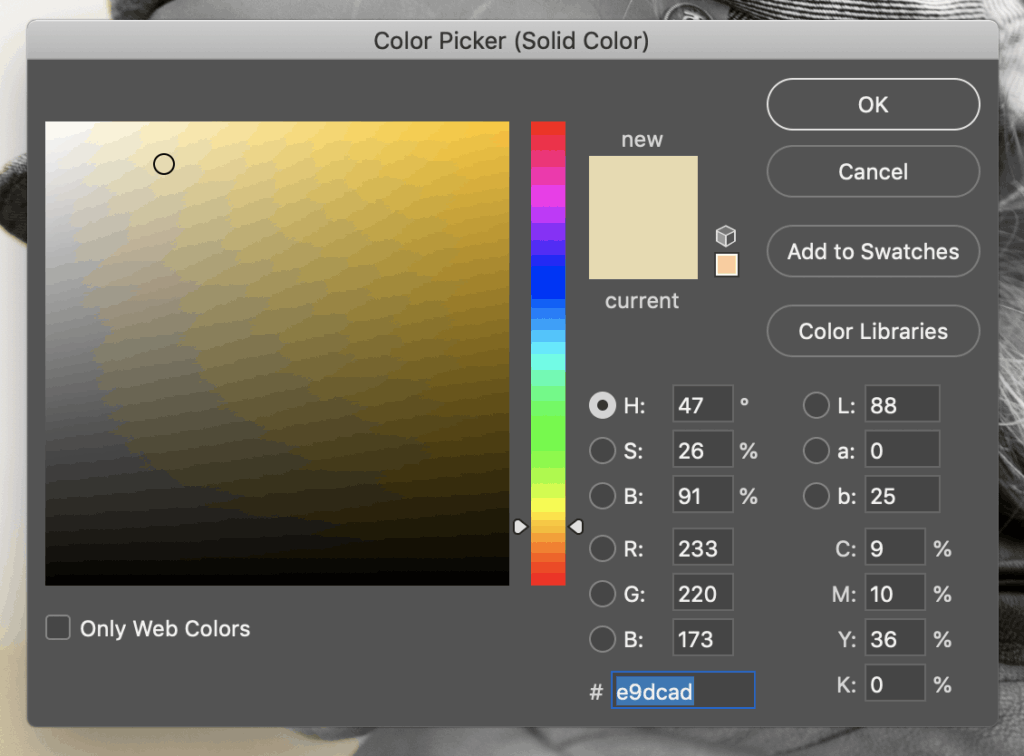
Create a new solid color layer from the selection
Once you have successfully made your selection, proceed to make a solid color fill layer. This can be done by clicking the icon shown below.

And, then, clicking 'solid color'.
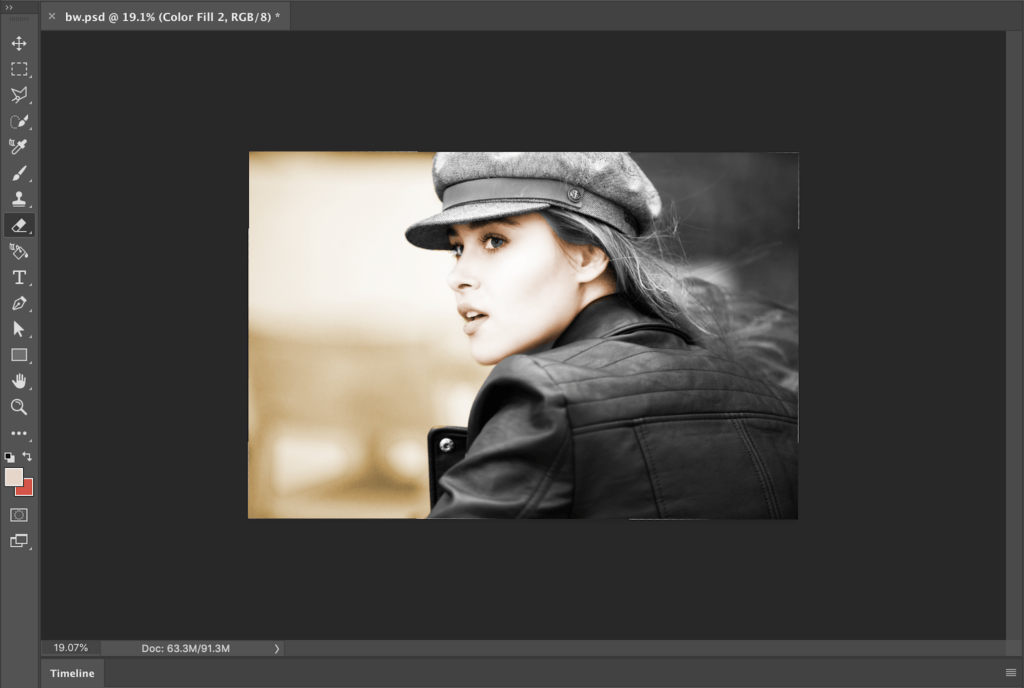
Then change the color to something suitable. Our image's background is out of focus due to the use of a nice, low aperture, which creates the cool bokeh effect.
That makes for a great photograph, and although the background selection we made is clearly not the sky, it's hard to tell what the color was in reality. We'll go ahead and opt for a warmer summery color, but you could always play around with it as much as you'd like.
You'll always be able to come back and change this later.
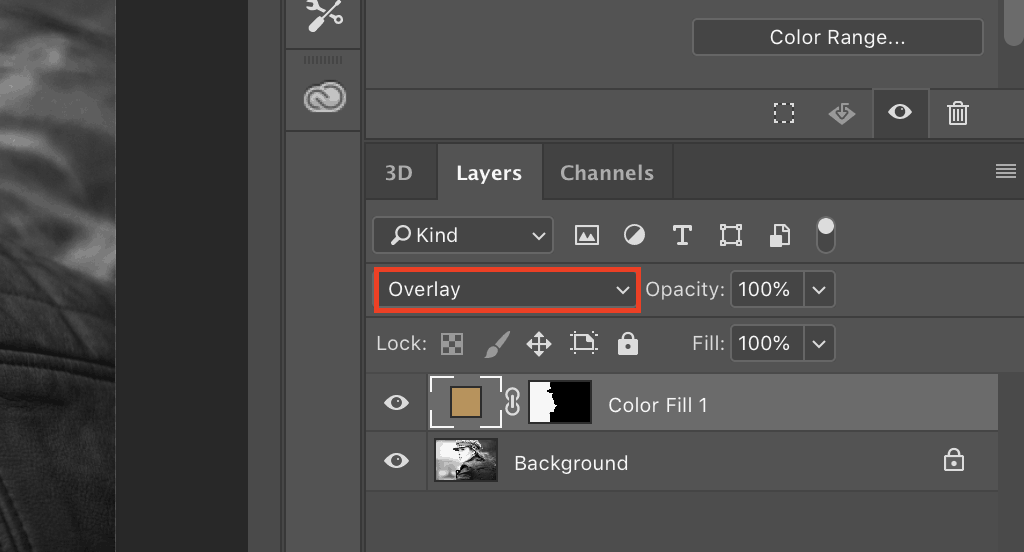
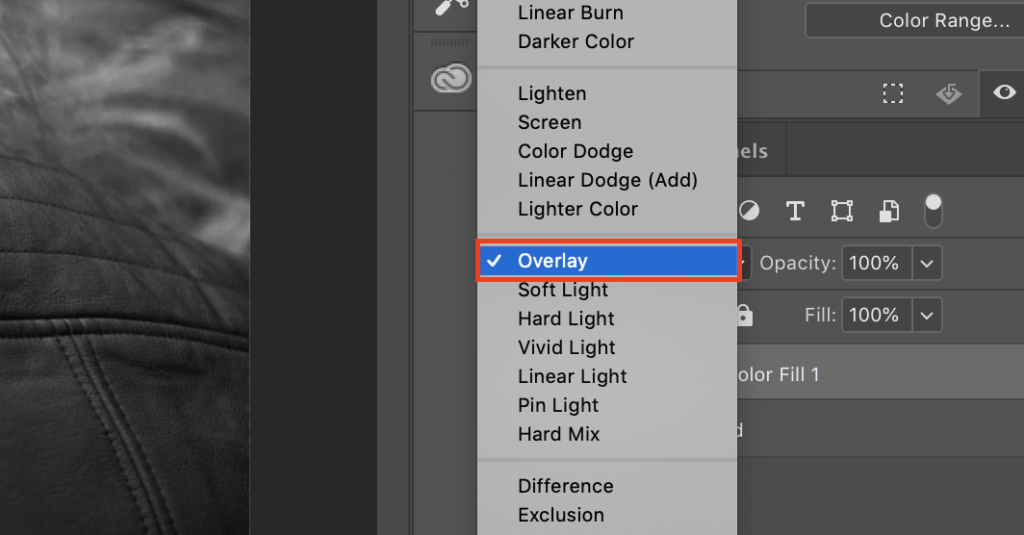
Change the blend mode from 'normal' to 'overlay'
You evidently don't want the color to appear like it's simply just been filled there, so you're going to need to change the blend mode.
Simply select the fill layer from the layers tab, open the highlighted dropdown menu, and choose 'overlay'.
Correct edges where color has bled onto the subject
It's unlikely that the initial selection was perfect, but it wasn't visible when the colors were the same. Go ahead and use the brush tool with a suitable color to fix the coloring of the original image again. This shouldn't take more than 2-3 minutes to do perfectly…
Try to match the surrounding areas as accurately as possible.
The slight variation of shade you see now may become visible later when we add color.

Showcase your colorized images today!
Display your colorized images in visually appealing galleries!
Get Started Now
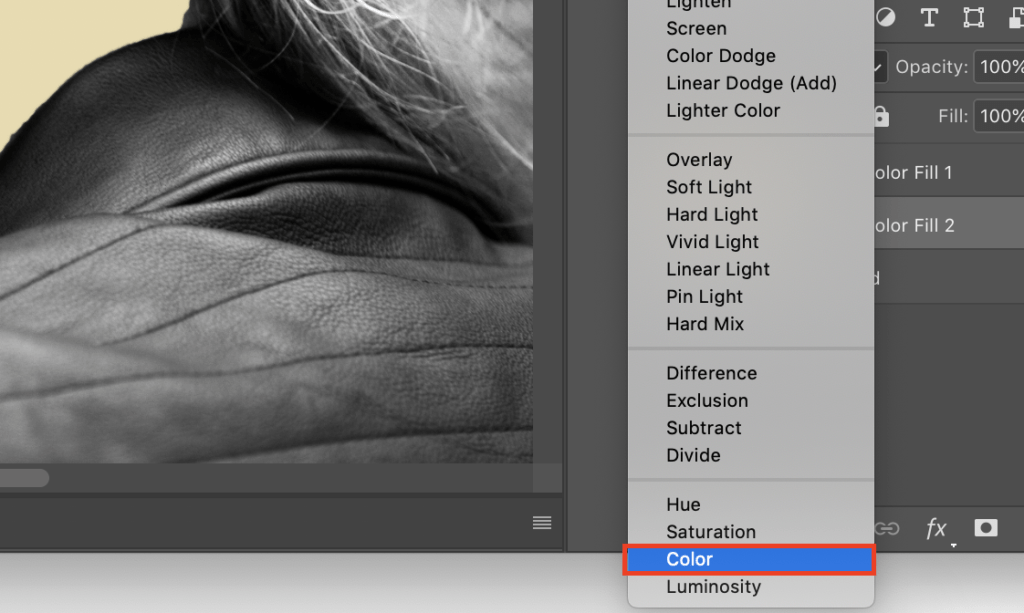
Add some color to her face
Just like you did before, use the 'Quick Selection' tool but now let's select her face. You'll also, just as before, create a new solid color fill layer and then choose a suitable color. In this case, we'll choose peach skin color. Ensuring the skin colors look natural (and are accurate) is likely the most difficult part of adding color to a black and white image, especially if you are not sure what the colors in the original image were.
But this time don't set the blend mode for this layer to 'overlay' instead change it to 'color'.
You might need to spend some more time working on getting the color of the face as accurate as possible. The original black and white version of the image we used looked like this:
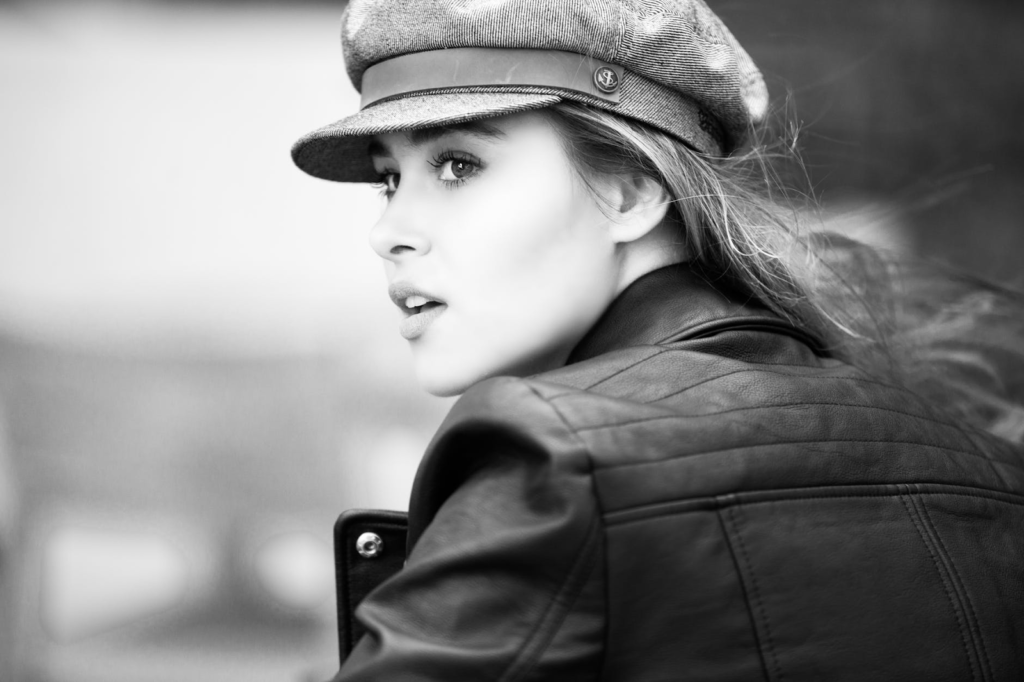
The skin on the model's face is already very smooth and very fair, so decisions we make regarding how to color her face will only be assumptions.
You will likely already have colors in mind when choosing an image, so if you're working with an image of your own, compare it to the actual subject. If you're working with the image we've chosen, we'll add a slight amount of coloring using the same method described above.
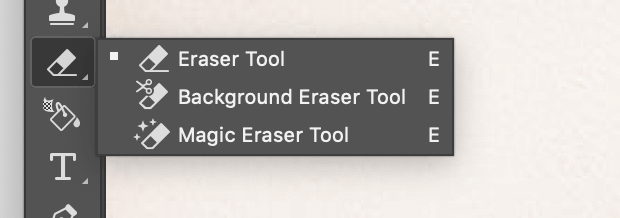
Although in step five we suggested using the brush tool to make any necessary corrections, in some cases (like this one) the eraser tool can be the more suitable choice.
To access the eraser tool, simply click the letter 'E' on your keyboard, or click the following menu item on the vertical menu present on the left:
Depending on the image, you might also choose to use the eraser tool to correct the revert the color of the hair that was on her face back to black and white until you add another solid color fill layer for the respective hair color of your subject.
That won't be necessary unless you wish to add another color to her hair entirely. For the sake of this tutorial, we haven't colored the rest of the hair, but you already know how to!
All you need to do is create another solid color fill layer. But be sure to adopt the color of the hair that was affected by the previous fill layer that we used for her face so that the hair is all one color.
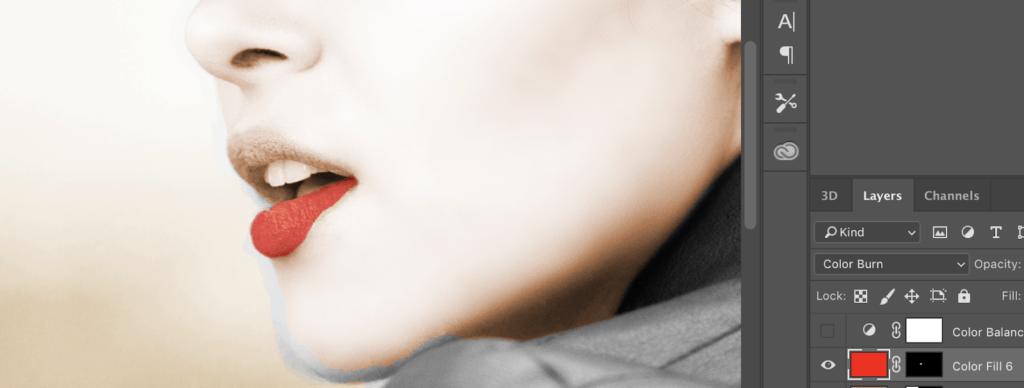
Make her lips red
Just as we did with the other areas, let's add some color to the lips. Use the 'Quick Selection' tool to select her bottom lip, then create a new 'solid color' layer.
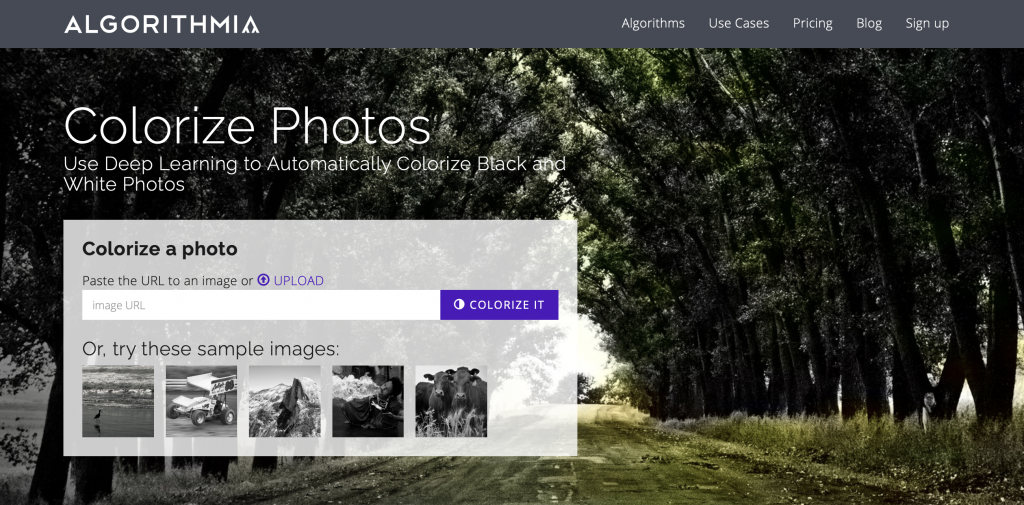
How to colorize black and white photos without Photoshop
If you're not a huge fan of Adobe Photoshop or just find it too time-consuming and tedious – you can always use this free tool to colorize black and white photos automatically. Algorithmia brings to life your old photos by automatically colorizing your pictures using cloud-hosted deep learning models. But what is deep learning?
Deep learning is an effective method to find patterns in raw data (an image or a sound). It is considered a branch of machine learning. If you are new to deep learning terminology, Emil Wallner explains more about this concept.
Note that the results will not be as accurate as if you were to spend some time colorizing them in Photoshop and giving up a certain amount of control.
I, personally prefer colorizing photos individually and manually in Photoshop because I retain full control over what the end result looks like and ensure that it is fully representative of the colors that were initially present in the image.
Using Photoshop to add colors to your images – Final thoughts
It wasn't so difficult to colorize a black and white photo in Photoshop after all, right? 🙂
Now that you know how easy it actually is, give it a try. It might take a while to get used to choosing the right colors for your images and using the quick selection tool accurately, but it will only get easier…
Keep in mind, the process will vary slightly for different images, and some may certainly take a lot longer. However, the general process is very similar. Additionally, the method that has been used to colorize a black and white photo in this tutorial can also easily be applied to adding a selective color effect to an image.
How to Make Black and White Into Color in Photoshop
Source: https://wp-modula.com/colorize-black-and-white-photos/
0 Response to "How to Make Black and White Into Color in Photoshop"
Post a Comment